Here it is!! The Ultimate Temperature Blanket Guide!!
At the end of every year the crochet groups on Facebook go bananas with posts about temperature blankets. There are so many questions!
- What is a temperature blanket?
- How do you keep it from being 12 feet tall?
- How much yarn do you buy?
- Should you use the high temperature or the low temperature?
- Where are you getting the temperature?
This blog will answer all those questions… and probably some you haven’t even thought to ask yet! How do I know the answers to all those questions? 2019 was my year of the temperature blanket! I turned 10 in April 2019 and I decided to make one to celebrate my double-digit year! It was a fun and exciting project and I learned a ton doing it. I am so excited to pass along everything I have learned to you.
What is a temperature blanket?
I have seen different twists on the temperature blanket, but the basic idea is that you work on a blanket for a whole year and the color yarn you use for each row corresponds to the temperature for each individual day.
Here is a video of my very first day in 2019. It also explains a bit more about temperature blankets. Check it out! https://www.youtube.com/watch?v=ExEK7-NrABs&feature=youtu.be&fbclid=IwAR3w3T_LpS8pJmQtorzT4-4DaP59fREarIfo-97X_0_EoOEreijLugEZbyU
Blanket Sizing
Let’s start with sizing. That way everything you can use that as a frame of reference for everything in the rest of the blog post. My finished blanket measures 59” wide by 72” high. It is essentially a full size blanket. Which is perfect because that is the size of my new bed!
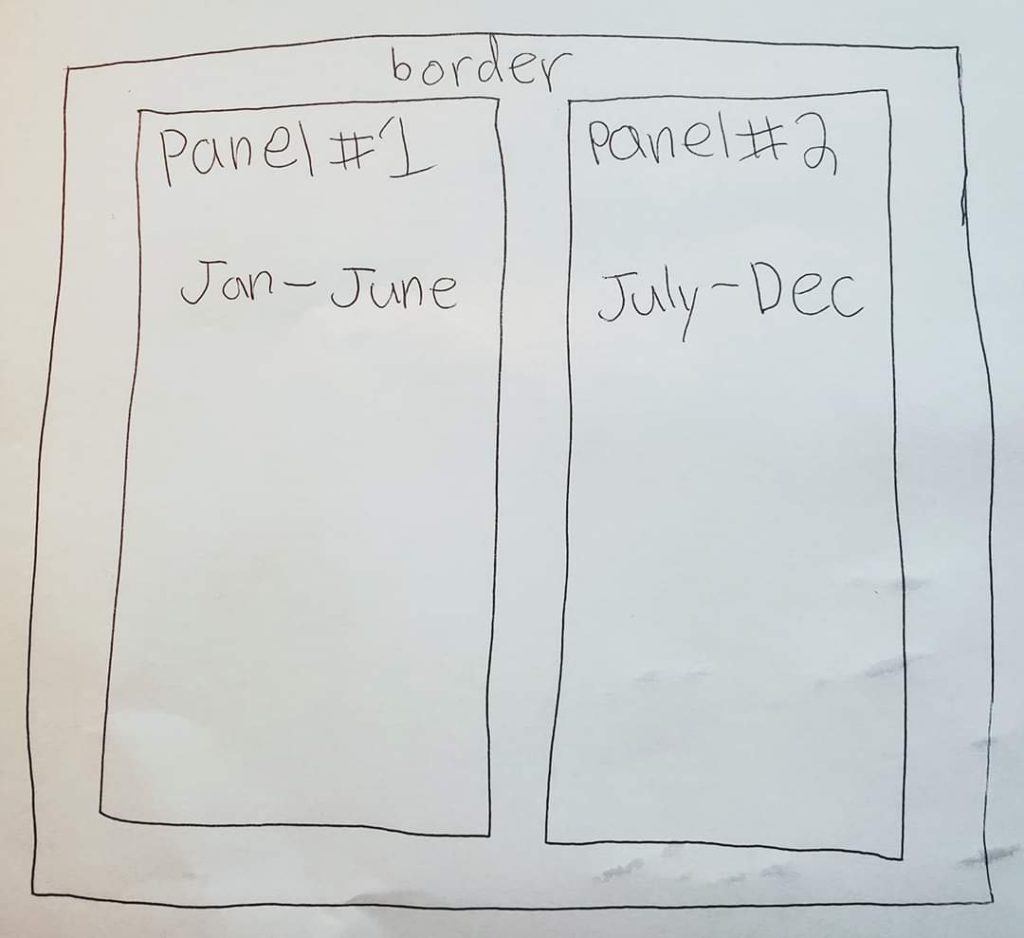
Mine is two panels that each make up approximately half of the year (more on that later!). My chain for each panel is 80 stitches. Obviously you can make those longer if you want a wider blanket. And then you can increase your yarn totals too. Or, if you want to make a twin or throw size, you can shorten the original chain. Mine is laid out like this.
What kind of yarn and how much?
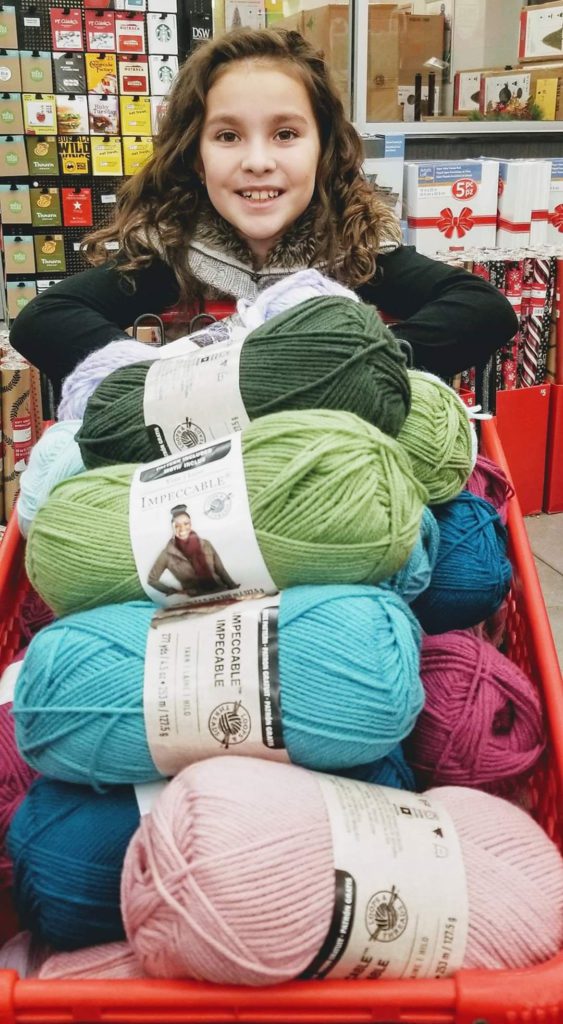
Now for the yarn!! I used Michael’s Impeccable Loops and Threads for the entire project. I bought it on Black Friday in 2018 for $1.40/skein. You can’t beat that! It was my very first ever Black Friday shopping experience and I loved it! Look at that cart full of yarn!
So here’s the big question… how much do you buy? That is a hard one to answer!! The easiest answer is that I would suggest buying more than you think you will need to be on the safe side. Most of the Loops and Threads colors are consistently available at Michael’s, but I would rather not cut it close. Plus, I am a crazy receipt saver, so I was able to return the excess yarn for a store credit when I was done.
But “buy a whole bunch” isn’t really an answer. So here’s what I did. I live in North Carolina, so it doesn’t get SUPER cold very often. The summer can be hot, but usually 50-80 degrees is pretty common. Here’s what I bought and I had TONS leftover.
- Colors I thought I would use a ton of = 5 skeins
- Colors I thought I would use some of = 3 skeins
- Colors I thought I would barely use = 1-2 skeins
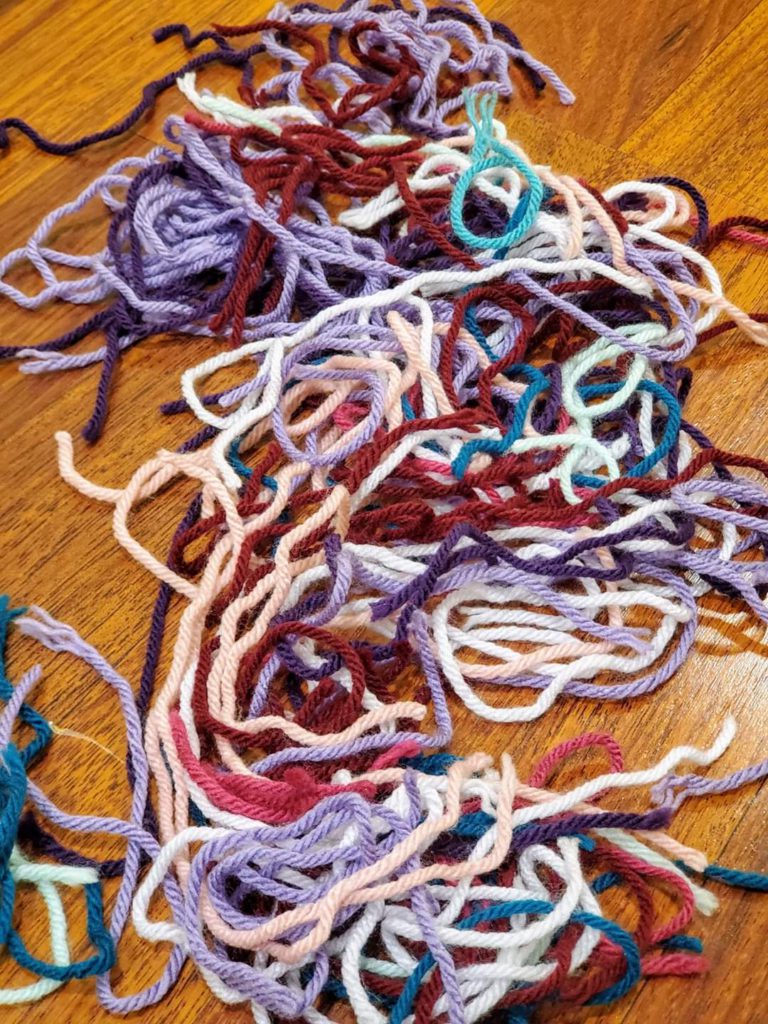
I don’t regret having tons leftover. You don’t know what kind of year you will have. Our winter turned out to be really mild and I barely got to use Deep Forest and Fern, which I would not have predicted because the winter before was frigid!!! But then we had way more high 90’s and 100+ days in the summer than I thought we would. So I was glad to have extra Lavender and Amethyst. There’s a whole section of my blanket that is just purple, purple, purple!
Here is what I ended up using for each color. I hope this gives you a good reference for planning your own blanket and yarn purchase.
Keep in mind, when I say one skein it might not mean I used the whole thing. I only have a handful of rows for Fern and Deep Forest, so I definitely didn’t use the whole skein. Actual yardage is almost impossible to measure because I had leftovers of each skein. For example, for lavender I used 1 full skein and about ½ of the second one.
| Yarn Color | Quantity | Yarn Color | Quantity |
| Amethyst | 1 skein | Teal | 3 skeins |
| Lavender | 2 skeins | Skylight | 1 skein |
| Petunia | 2 skeins | Aqua | 2 skeins |
| Burgundy | 2 skeins | Fern | 1 skein |
| Soft Rose | 3 skeins (not including the border) | Deep Forest | 1 skein |
| Rich Orchid | 2 skeins |
If you have some leftover yarn or skeins you didn’t use all of, you can always use them to make coordinating throw pillow covers too! There is always another project.
Hook Size
I used a Boye size J hook for everything on my project. I am a pretty loose crocheter, so you can always go up or down a size depending on how tight you work.
Choosing Colors
How do you choose colors? I started by deciding how many colors I was going to use in total. I planned for 10 colors. When I went to Michael’s to buy my yarn it did take me about an hour to decide. I picked out a few colors that I loved right away. Then I worked from there. I tried to get 2-3 shades in each color family. So, for example, in the pink/burgundy family I have Burgundy, Soft Rose, and Rich Orchid. For the warmer colors I have two shades of purple. For the cooler colors I have two shades of green. I tried to pick colors that blended into each other subtly. Sometimes there are big swings in the temperature, but more often the temperature would bounce around for a long period in the same general range. So I liked having colors that blended nicely together. I sat there and lined them up in order. One would stand out as an odd duck. I’d take it out and replace it with something else. I’d change the order around. This went on for a good long while until I had the color variety you see on my chart and the order I felt flowed well.
Of course, there is no guarantee they will get used in that order, but I liked the flow of them like this.
You will also notice I have more than the 10 colors I planned on using. I couldn’t narrow it down. So I ended up changing my temperate ranges. Instead of changing color every 10 degrees, I changed color every 6 degrees to fit the extra color in.
What Temperature Do You Use
What temperature do you use? There is some flexibility with this. I used the high temperature everyday. Specifically the high temperature of the place I fell asleep in. The reason I say this is we travel. A lot! In the summer we drove 10,000 miles in the RV. Sometimes we would wake up in the desert and fall asleep in the mountains. So the temperature would change a lot. To be consistent I always used the temperature for the place where I ended the day.
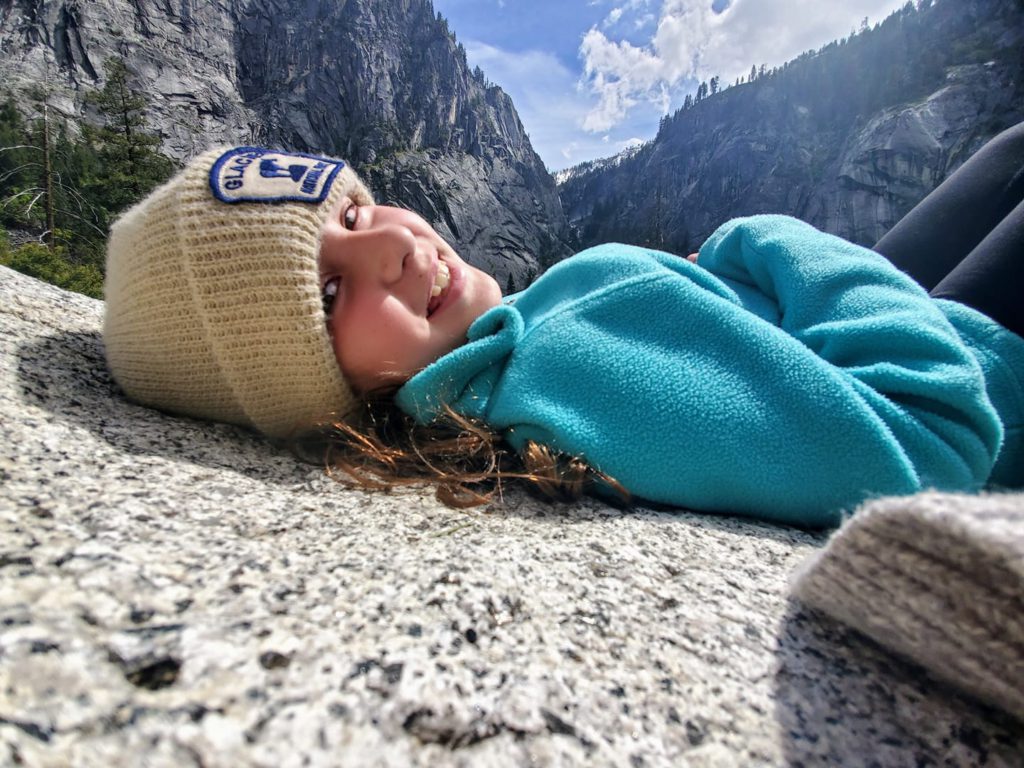
We were snowed on multiple times in May! We had one night in Yosemite Valley right around Memorial Day that was 26 degrees (for the low). Wowzers!
Doesn’t my chart look like it has traveled thousands and thousands of miles? It is looking kind of beat up! Haha.
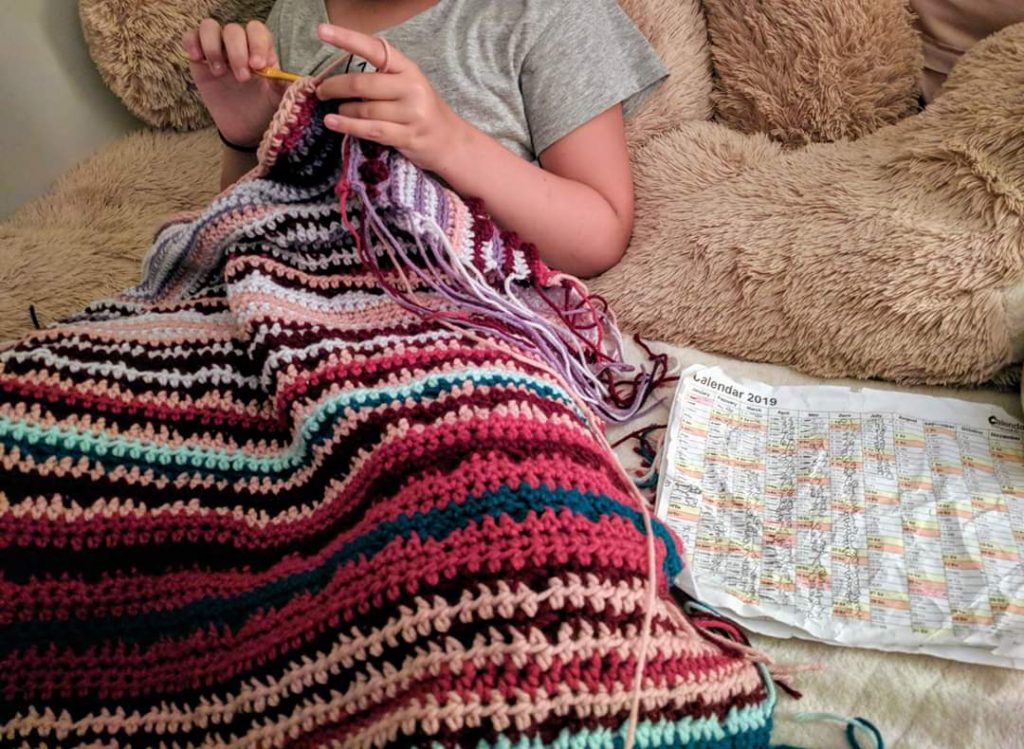
At the beginning of the year I downloaded the AccuWeather app and used that everyday to be consistent too.
Color Ranges
You can decide what the ranges on your color chart will be. I see a lot of posts saying things like, “My blanket would be so boring because I live in Arizona. It is always hot here. The whole blanket would be XYZ color.” Well, there’s a few ways around that.
#1 You can make your temperature ranges really small. My color changes every 6 degrees. If you live in a climate where the temperature doesn’t change much, your color might change every 2-3 degrees to give you color variety.
#2 Another option is to use your night time low temperatures. If your night time temperatures have a bigger change during the year than that might be fun to track instead.
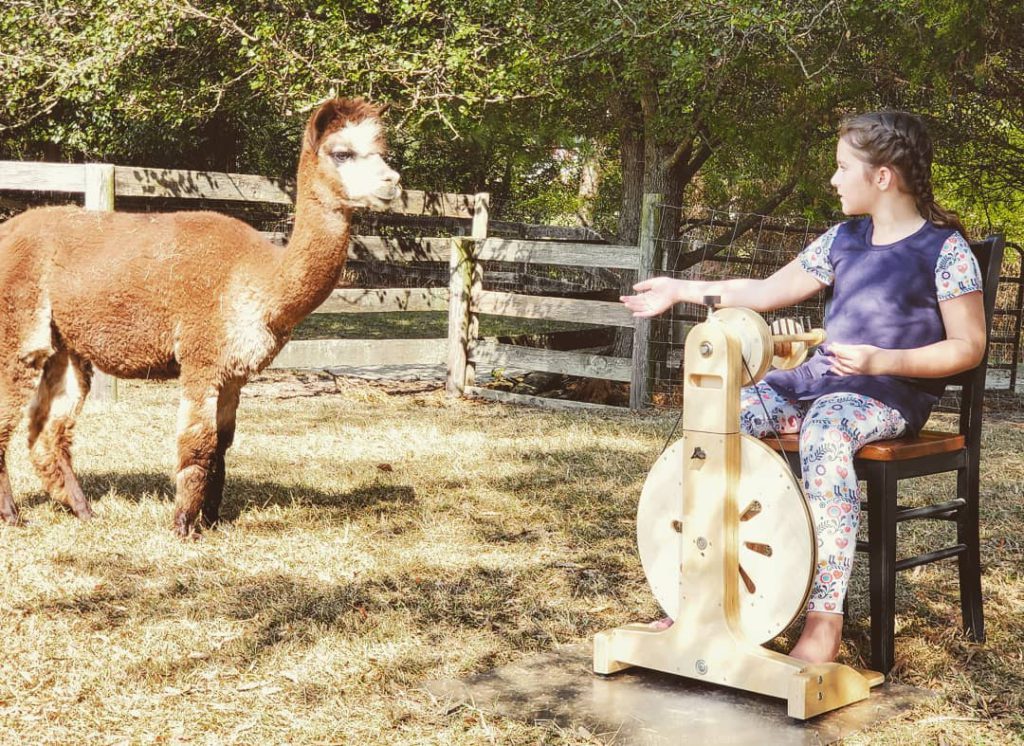
I have also seen people do fun things where they have a specific color for snow days. You can get creative. I love seeing rows on my blanket that really stand out and I remember the day so well. For example, in September my spinning wheel Petunia and I were invited to Alpaca Dreams in Louisbburg, North Carolina for National Alpaca Farm Days. We got to spin and talk about alpaca fiber with farm visitors. It was so hot it was like being right on the sun. But it was also the best day ever!! So when I see that Amethyst stripe on my blanket it brings back such an awesome memory.
Tips for Staying on Track
I see a lot of posts about unfinished temperature blankets. It is definitely a big project and sometimes life gets crazy and you can’t do a row. That is OK. I had a few big breaks from my blanket during the year. When we went on our 10-week summer road trip I didn’t bring my blanket. I brought tons of yarn and crocheted all over the country, but not this project. I brought my tracking chart with me and wrote down the temperatures every day. Then in December we went “home” (to the place we call home at least) to Florida for about a month. I brought crocheting and spinning projects, but again left this one home. I finished it when we got home.
I would recommend setting a daily alarm on your cell phone. Mine went off every day at 9pm and it just said “WEATHER!!!” That would remind me to check the app and write it down on the chart. If the chart wasn’t handy for any reason I would text myself the temperature as a reminder to write it down later. It worked really well.
I will include links to a 2020 and 2021 chart in this post. They aren’t anything fancy that I made. I got them from – http://www.calendarpedia.com. They have lots of calendar formats that are free, but if that chart doesn’t work for you, you can find something that does on Google. There are lots of options.
Attaching your two panels
At the very end I had two complete panels that were the same length. I spent a crazy amount of time choosing a border color. I tried to choose a border color that:
#1 I thought was well represented all throughout my blanket. So, for example, I probably wouldn’t choose lavender because it is only really common in one chunk of summer time.
#2 I thought looked good touching every other color in the blanket.
#3 Wasn’t so dark that is made my whole blanket gloomy or not too light (lavender!) that it would look stark against all my other colors
I ended up choosing Soft Rose and I love it! I wanted a pretty thick border, so I did 6 rows. I describe it a lot in the video tutorial included in this blog post. I did 6 rows on the outer edges and 3 rows in the center where the two panels would connect. That way when I connect them there’s 6 rows of border in the middle too.
Once the border was done I laid the two panels on top of each other with the right sides together and whip stitched the seam from the back. I used Soft Rose and doubled it on my tapestry needle for extra strength. I started at one end and went about 10” in. Then I started at the other end and went about 10” in. I didn’t want to go from top to bottom and then risk the bottom didn’t line up. Every time I reloaded my tapestry needle I overlapped the last section I did just a little bit for security too.
When I unfolded the blanket the seam was on the back and it laid nicely. The two sections of 3” border matched up perfectly, so now there is a 6” border all around both panels.
Things I learned from this project
- 365 days is a lot of rows!!! I see a lot of posts in crochet groups on Facebook where people have given up on their temperature blanket because it is 6 feet tall by the middle of June. Even doing just single crochet it is a lot of rows. I toyed with the idea of just doing a set number of stitches everyday. The colors would change all over the place (not just at the ends of a complete row) and I could control the length that way.
But in the end I decided to do complete rows and control the length by making two panels and later attaching them like I showed in the drawing above.
It worked perfectly. My blanket is a good length and width… and so cozy!
- This is a BIGGIE! I changed up my stitches all over the place. I love the way the finished blanket looks with the nice variety of stitches. Could you do the whole thing single crochet? Totally. It would be really simple and still look really pretty. Here’s the challenge of all my different stitches that I didn’t see coming before I started. Follow me…. I planned to make two big panels and then crochet them together with a border. So basically the two largest granny squares in the world – ha! Well, here’s where that gets tricky. What if I have a lot of tall stitches in the first half of the year that makes up panel #1, but then a ton of really short stitches for the second half of the year that makes up panel #2? I would end up with a really long panel and a really short panel. They would be totally different lengths even though they had the same number of days in each panel. I realized this would be the case around March. Eek! So what I did was work until the middle of May. Then I set it aside and just wrote down temperatures for the rest of the year. I started working on the second panel from December 31st backwards. As I got towards the middle of the year I had the panels laid out next to each other and kept adding rows to keep them even. On my blanket it turns out that the second panel has about an extra 30 rows than the first panel. So they did not end up being even in number of days/rows, but they are even in inches.
If you want to avoid that situation, working with the same stitch everyday would be the best solution. Then you can divide the year in half (or close to it since 365 is an odd number) and have two even panels.
- I love the bobble stitches on my blanket. They add so much character to the finished project. However, they take longer than any of the other stitches on my blanket. When I would check the weather and see 50-56 degrees or 71-77 degrees, I’d shake my head and mutter about bobbles. If you are going to use bobbles, I would recommend two things.
#1 Put your bobbles in temperature ranges that you don’t think will happen all the time. Maybe a super high or a super low. Mine were in super frequent temperature ranges and I was bobbling all the time!!
#2 I would suggest you spread your bobbles out more. I only have 3 stitches in between each bobble. I would suggest 8-10 stitches in between each if you don’t want to be a bobble zombie by the end.
- When I laid out my chart with the different stitches, I thought every teal would be bobble. But when I actually started I realized that sometimes I would have four or five days of the same temperature range in a row. That would be a lot of bobbles all piled up on top of each other and it would have looked wonky. And bulky! So what I did was say that my “unique stitch” would be the first row and the days after it would be single crochet. So if March 12, 13, 14, and 15th all fall in the teal bobble range, I would do a teal bobble for March 12th and then teal SC for the 13th, 14th, and 15th. This also helped my blanket stay a decent size. Some of my unique stitches were kind of tall, so if I did March 12th to the 15th all with that stitch it would have made my panels too big. But I loved having the unique stitches worked in here and there. It added so much character to my finished project.
- If you are going to use a unique stitch, make sure it connects to the row before and after it easily. When I planned my blanket I was thinking of using Catherine’s Wheel. It is so beautiful! But it didn’t flow well for me when I was changing stitches all around it. I ended up changing those rows to Camel. You may still see some Catherine’s Wheel on older versions of my temperature blanket chart before I made the switch.
- Weave in a few ends every once in a while. I left all the ends for 365 days. Ouch! It is do-able, but so dull when you just want to see your beautiful, finished blanket and instead you are there weaving in ends for days.
Thinking Outside the Box
Most people think of temperature blankets as a project for the current year. 365 days worked into rows. But there are other ways you can use this pattern. For example, a great gift for a new baby would be a “9 month” temperate blanket that records the temperatures during the mother’s pregnancy. They also make great milestone gifts. Maybe a 50th anniversary gift can record the year the couple was married or the birth year for someone having a big milestone birthday. Historical temperatures can be found on the internet or in the farmer’s almanac for previous years.
This is my completed blanket. We are in the middle of a move. One house sold and the new one has had some construction delays. So we are traveling right now, but I can’t wait to get to my new home in Texas and lay this out on my very own bed.
I hope you enjoy making your blanket. It was a ton of fun and I learned so many things in the process. As you can tell from the length of this blog!
It is something I will sleep under for years to come and always remember my special double-digit year and all the adventures we went on.
I would love it if you follow along on my fiber journey. In addition to crochet I spin, weave, and needle felt. Plus whatever new fiber-related hobby I have gotten distracted with since the time I have written this post and the time you are reading it. Let’s connect on Facebook and Instagram.
Happy creating!
Astrid