Last week I posted about my magical day at Southeastern Animal Fiber Fair. If you missed the post, definitely check it out HERE.
SAFF has tons of classes you can take and I took one on painting with wool. The technique we used was needle felting. I have never done it before, but it was the class on the schedule that looked the most interesting. Needle felting is when you used barbed needles to interlock wool fibers. It will pack the fibers down because the little scales on the fiber rub against each other stick together. The fibers all get tangled up. They get more dense and can be formed and shaped.
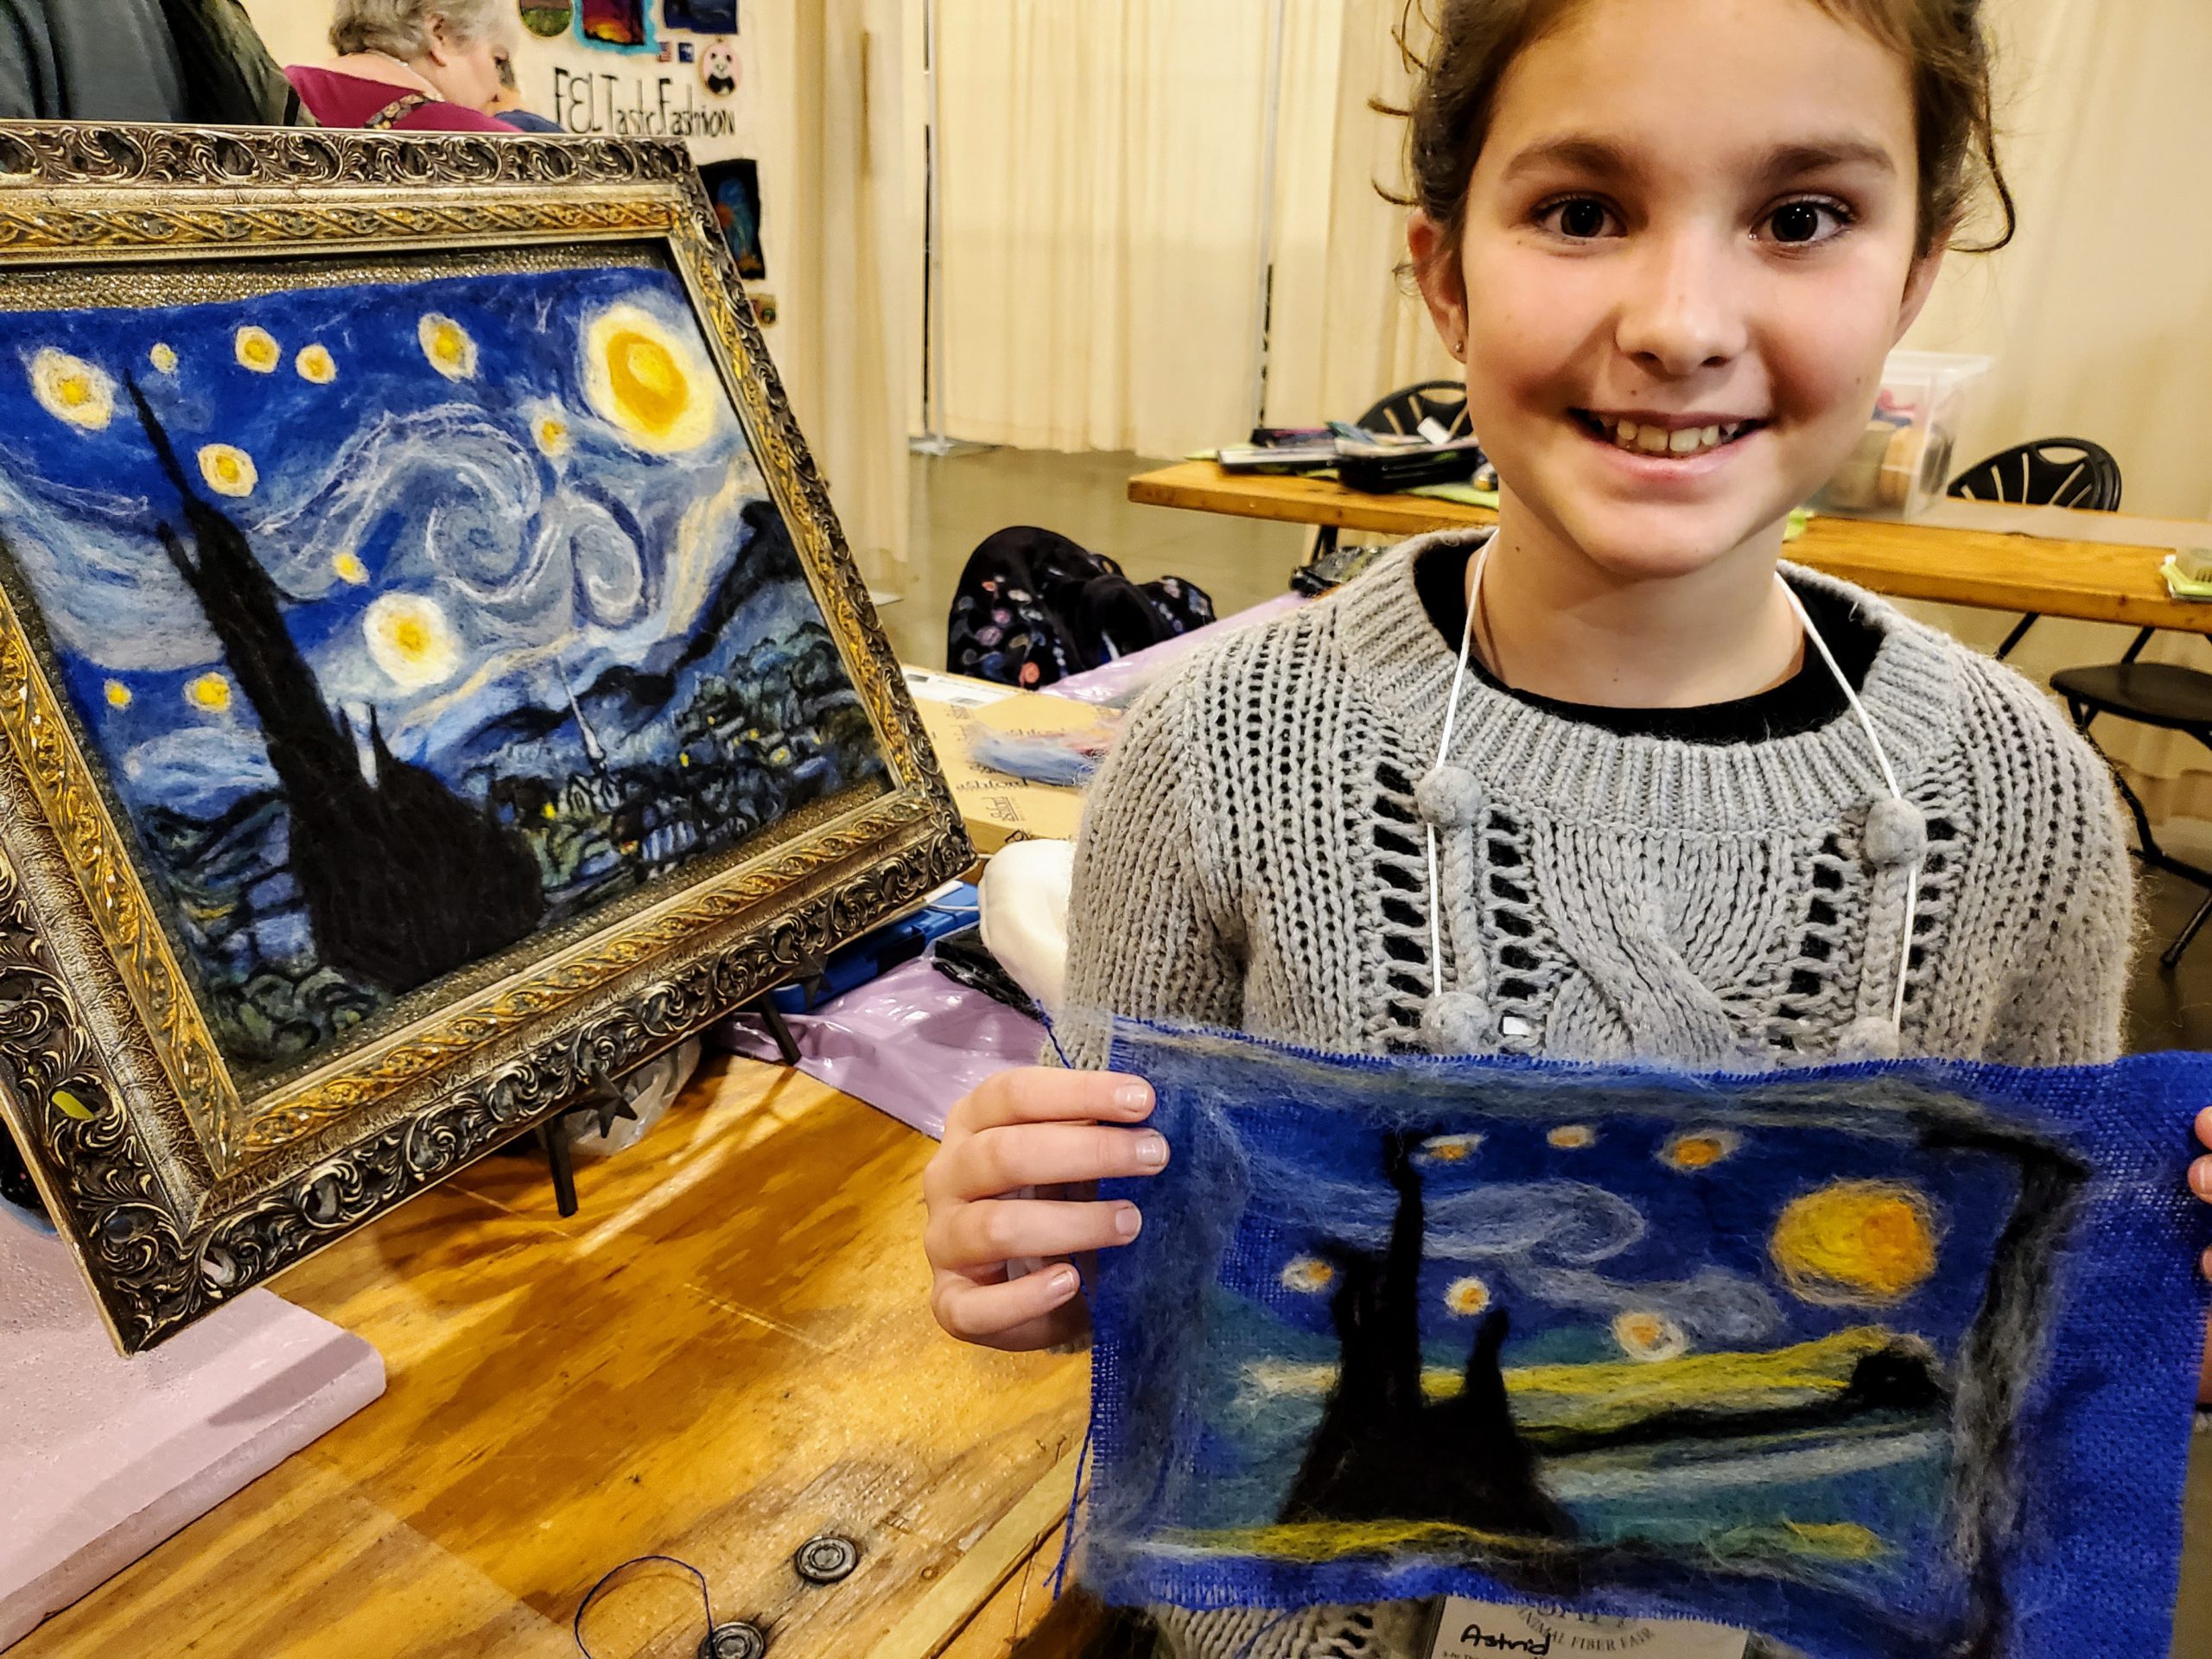
In the class we were going to create Van Gogh’s Starry Night using fiber. This is the sample the teacher created.
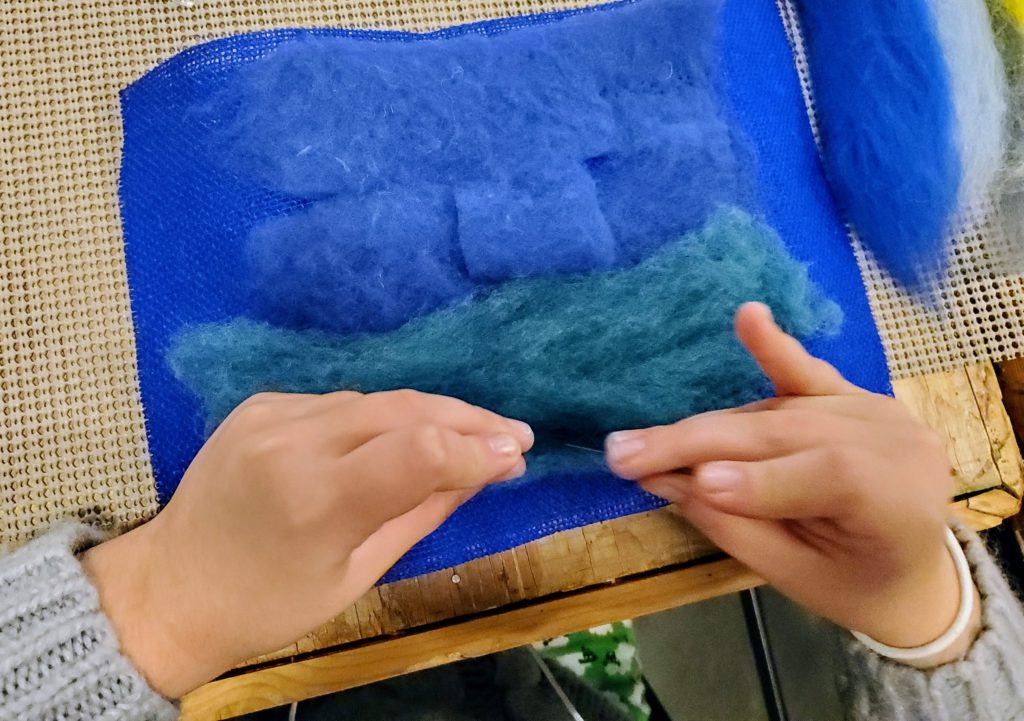
We started by putting a piece of blue burlap on a foam block. We took a bat and laid it on top of the burlap. To create the Starry Night backround, the top two thirds of the burlap sheet was covered with blue fiber and the bottom third green fiber. Then we took a needle and started to felt the fiber into the burlap. This is how we created the background colors so that it looked like Van Gogh’s painting.
I learned there is a specific way to hold the needle. The finger position is important. My middle finger was the lowest one holding on to the needle. Every time I pushed the needle into the fiber that finger was supposed to touch the foam block. That is how I knew the needle went in far enough.
Once the background was done we started with the detail of the design. We would draft a little bit of roving and lay it where we wanted it. Then it was time to repeat the process with the needle over and over again. We used Ashford Corriedale wool roving and it is lovely fiber. Look at all the colors it comes in too! You can create anything with all these options.
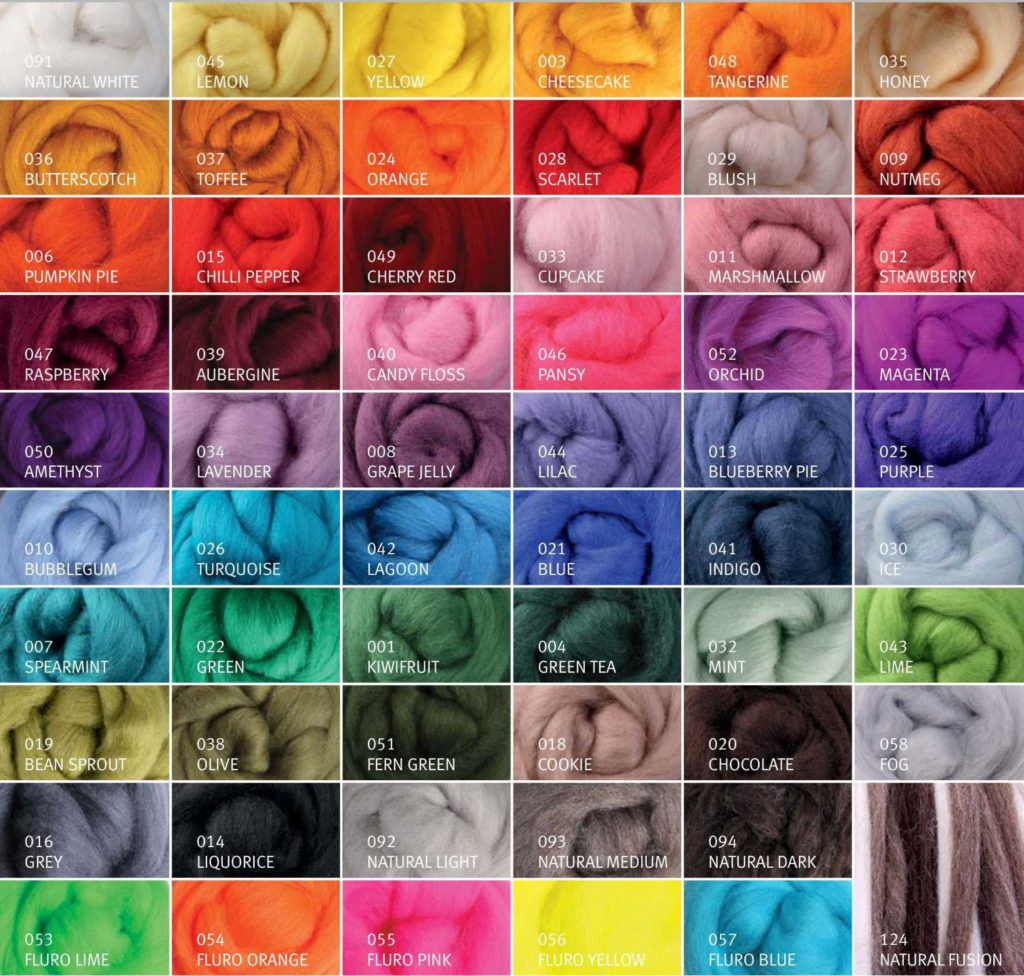
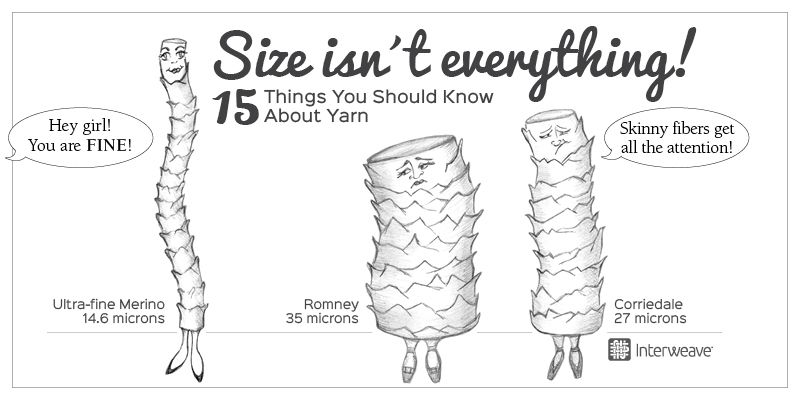
My teacher said she recommends this particular wool because it has a higher micron count and that makes it easier for a beginner to felt with. Microns measure the diameter of fiber. It tells you a lot about how soft a fiber is. A low micron count means soft fiber and a higher number means it will be more coarse and wiry.
There were little tricks on how to get the shape and depth we wanted. For the stars we wrapped some roving around our finger to make the shape and then felted it on top of the background. I am sure as I practice more I will develop my own little tricks too.
If we were working on a really big section of fiber we could switch to a tool that had multiple needles in it. That is what I am working with here. It made the work go a little bit faster. When we switched to the tool with multiple needles, we also switched the foam block to a mat with brush bristles.
This is my finished piece. I think it looks like Starry Night, so for a first attempt at something I think that is a win! P.S. Class ended at noon and I was hangry when this picture was taken.

Our teacher also gave us a little tip. She said you can take the thread out of a sewing machine and run your work under the needle to finish it off.
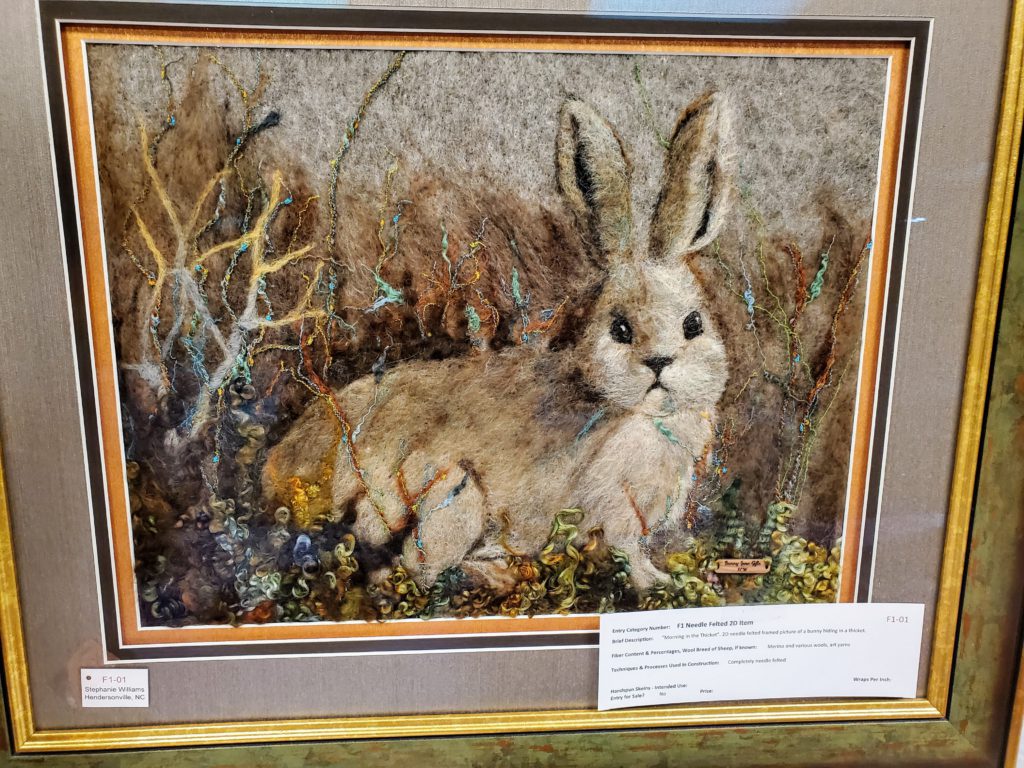
Two of the top winning entries at SAFF were also needle felted pieces. The bunny looks like it was painted. Look at all the detail! That was all done with fiber.
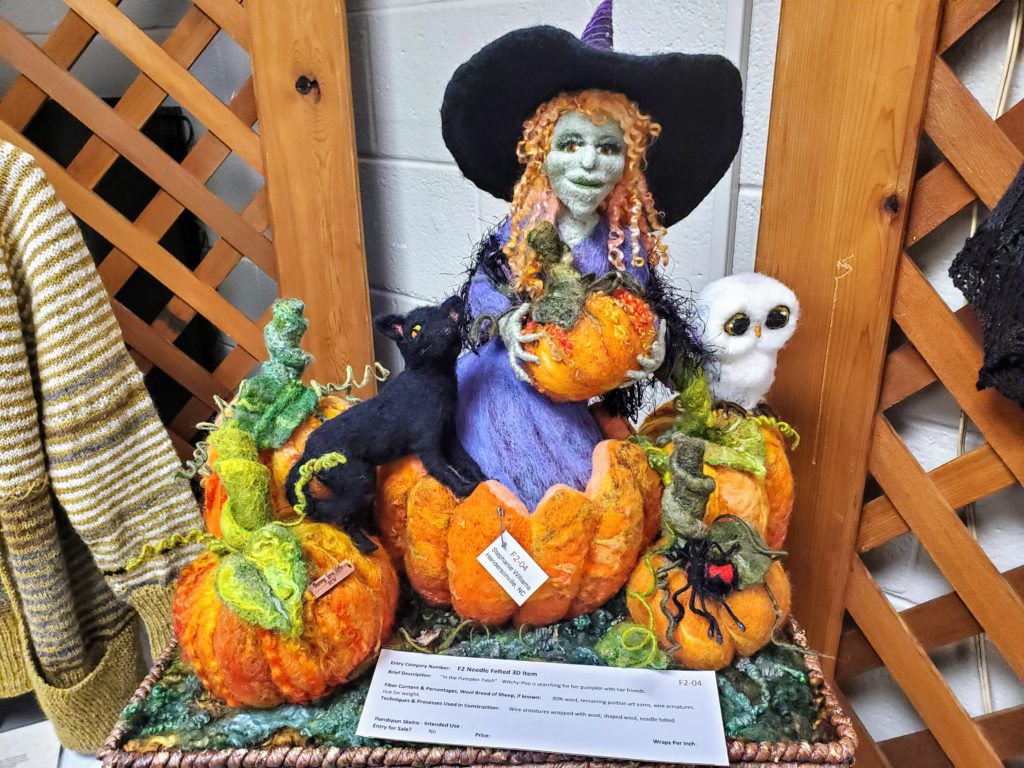
The Halloween piece with the witch is a 3-D piece that wase also felted with wool. Isn’t it amazing?
I am excited to keep practicing with needle felting. I am brainstorming a design for next year’s state fair that is needle felted. I might just go for it! But in the meantime I will keep practicing.